Knifemaking - Torsioned
Damascus Claw
A hawksbill blade from files and ball bearing parts.
Knife Details:
-Damascus made from 2 files (W1) and ball bearing parts (52100)
-4.5" hawksbill blade, 9" overall length.
- Handle in black and white acetate.
- Leather sheath with acetate insert.
Knife making process
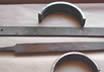
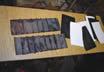
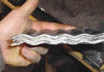
Starting from two files (W1) and some ball bearing parts (52100),
I decided to make a torsioned damascus and see what patterns would
appear. (Picture 1)
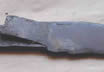
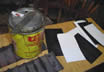
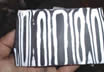
After heating the pieces and hammering a bit, the different steels
started to get welded together. (Picture 2)
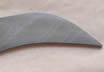
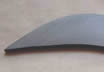
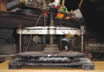
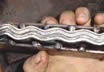
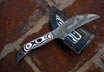
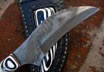
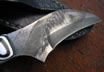
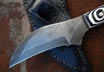
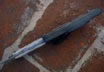
After a long session of even more hammering to rotate the steel and
some grinding, I got the final shape of the knife. (Pictures 3
and 4)
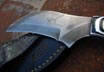
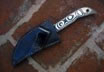
After the etching is done, you can appreaciate the full damascus pattern.
4.5" blade, 9" overall length. (Picture 5)
For this handle, I decided to use black and white acetate layers from
some Gretsch drums I had from my other job and make one of my now
traditional multilayers.
Now I use some cilinders welded to flat pieces of metal to perform
this process, as I found that to be really helpful. (Picture 6)
I placed contact cement between each acetate layer prior to be pressed.
(Picture 7)
Then I pressed the mix on the horizontal press untill the glue dried.
(Picture 8)
Picture 1
Picture 2
Picture 3
Picture 4
Picture 5
Picture 6
Picture 7
Picture 8
As it comes out of the press. (Picture 9 and 10)
After some filing and soft polishing to prevent abrassion, this is
the final material ready to be used. (Picture 11)
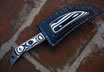
For the sheath I used cow leather with a detail of the same handle
acetates.